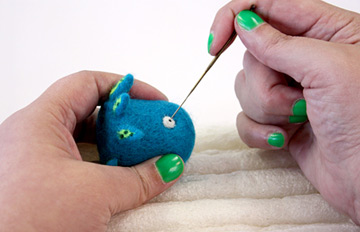
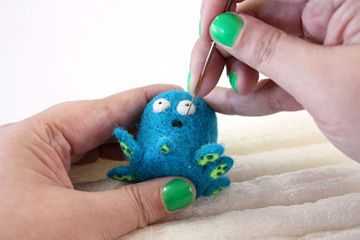
Octopus Friend
Before you start, you need to know:
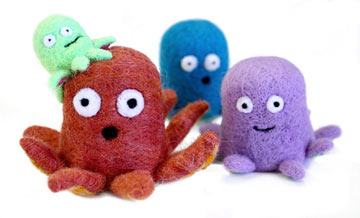
Felting needles are sharper than the sharpest sharp thing you can think of. While felting, always watch your hands and fingers to avoid boo-boos. Make sure your pokes are gentle, too.
Ready? Ok!
|
|
Materials and Tools:
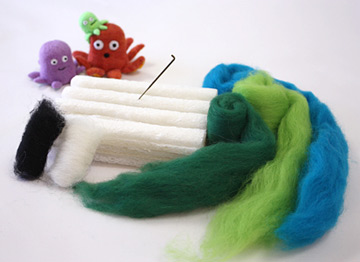
Foam, 1 felting needle, and wool fiber – colors: 3 of your choice + Black, and White (colors in photos are Swamp, Apple, and The Turq)
1. Pull the fiber
Start with a tuft of your base color about 6” long. (The fiber pulls apart more easily if you place your hands about 4-5 inches apart and pull gently.)
|
|
2. Loosen the fiber
Loosen the tuft a bit, pulling the sides to flatten the fiber and make it wispy.
|
|
3. Fold and roll the fiber
Fold the fiber and roll loosely into a not-at-all-perfect squat log, approx. 3″ long.
|
|
4. Start your poking

Place the log on the foam and gently poke the needle into the fiber.
||
♥ ….
Bonus Tip for The People: Gentle pokes work best. The business end of the needle is only an inch at the tip. Poke any further than that and it’s a waste of your efforts.
…. ♥
|
|
5. Poke it all over
Use gentle pokes all over the log, rolling it along and moving it around the foam. (Moving it helps keep the log from permanently sticking to the foam.)
|
|
6. Add fiber
Once the log starts to hold the body shape and condense, take a thin tuft of fiber and wrap it up loosely.
|
|
7. Keep poking
Continue gently poking the body from all sides. If the body is about the right size but isn’t as thick or as strong as you’d like, pull a little more roving, loosely wrap it around the body and keep poking. Repeat as needed.
|
|
8. Shape the head
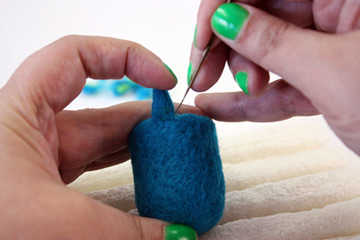
Gently poke the top of the body to form the head. Add small tufts of fiber to the area as needed to round out the shape.
♥ ….
Zing! Check it… A Tip!: Even when you are poking at an angle, make sure your needle goes in and out in the same direction. Otherwise, it could snap.
…. ♥
|
|
9. Poke the bottom
Gently poke the bottom of the body to give it a flat surface for sitting on. (Repeat steps 6 & 7 as needed to make the whole log thicker.)
|
|
10. Light touch for a tentacle
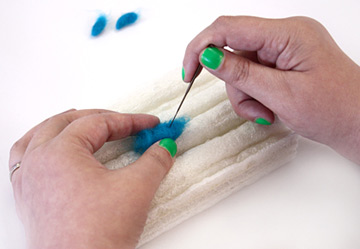
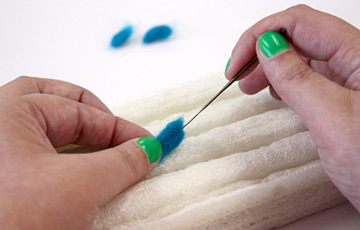
Take a small wisp of fiber and roll it into a small log shape. Use very gentle pokes to begin building the tentacle thickness.
|
|
11. Shape the tentacle tip
Use extremely shallow, gentle pokes around the tip of the tentacle to taper it.
|
|
12. Add more fiber
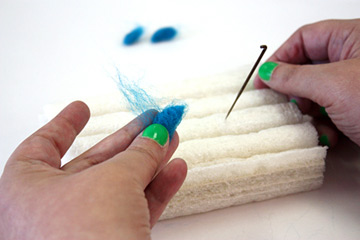
Add a tiny bit of fiber to the tentacle (as you did for the body) and keep poking it into shape, leaving the wide end unfinished and fuzzy.
|
|
13. Shape the tentacle top and bottom
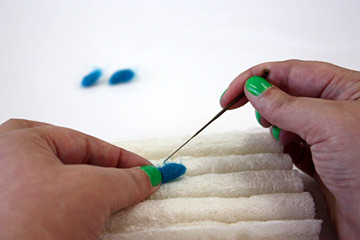
Use gentle shallow pokes on the back of the tentacle, keeping it round. Poke the underside a little more to make a flat surface for the accent colors. Repeat until you have all the tentacles your friend needs.
|
|
14. Add tentacle surface color
Take a tiny wisp of your accent color and use gentle pokes to begin fastening it to the inside surface of the tentacle.
|
|
15. Keep poking!
Use tiny pokes along the edge of the accent color to flatten and create the shape. Add more tiny bits of fiber and poke as needed until you’re happy with how it looks.
|
|
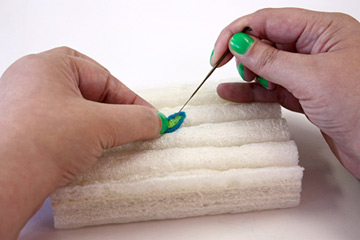
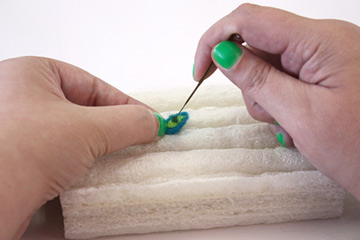
16. Suck it!
Take a teeny-weeny wisp of your third wool color and poke it lightly onto the tentacle. Use shallow, tiny pokes to tuck the suction cup fibers into place. Gently twist the stray fibers around the needle tip and poke them into the tentacle as needed.
|
|
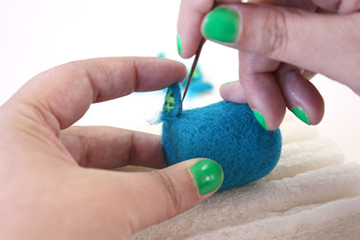
17. Attach the tentacle
Lay the body on the foam, hold a tentacle in place and gently poke the fuzzy end into the base.
|
|
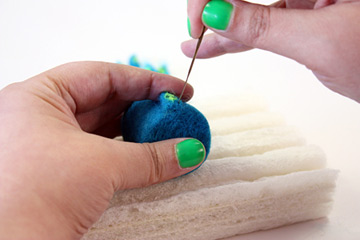
18. Keep poking
Hold the tentacle in place and continue poking at the base to make it even more secure.
|
|
19. Even more poking
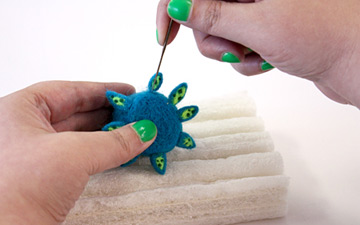
Poke the tentacle on all sides of the tentacle base. Add a small wisp of fiber if needed to make sure the tentacle is permanently attached.
|
|
20. Every tentacle has its place
Repeat the process to attach all of your new friend’s new tentacles.
|
|
21. Make eyes
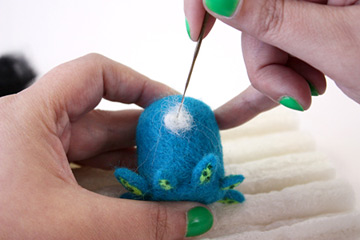
Use a small wisp of white fiber and gently poke it into place to start the eye, like the suction cups but, bigger!
|
|
22. Shape the eye
Gently poke the edges of the eye towards the center. This will make it even more secure while creating a puffy shape.
|
|
23. Eye see you!
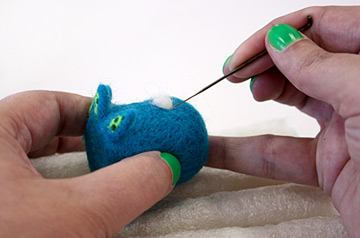
Take a teeny-weeny bit of black fiber and poke it into the center of the eyeball. Repeat steps 21 – 23 to make the second eye.
|
|
24. Mouthy
Take a small wisp of black and poke it into the face wherever you think it should go. Poke and add tiny wisps as needed to shape your new friend a word hole.
|
|
You did it! You totally felted, so… that means you’re a felter now! Sweet.
Downloadable Octopus Friend PDF | | Show me your projects!


